BIOS
Introduction:
The BIOS is a program stored in the Flash Memory on the motherboard, acting as a bridge between the hardware and the operating system. When you start the computer, the BIOS gains control and performs an auto-diagnostic test called POST (Power on Self Test) to check all necessary hardware. It detects all hardware devices and configures their parameters for synchronization. Once these tasks are completed, the BIOS hands control over to the operating system (OS).
Since the BIOS is the sole channel for hardware and software communication, it is crucial for system stability and optimal performance. In the BIOS Setup main menu, you can see several options. These options will be explained in detail down below. First, let’s look at the function keys you may use here:
Press
Escto quit the BIOS Setup.Press
↑↓←→(up, down, left, right) to choose the option you want to confirm or modify.Press
F10to save these parameters and exit the BIOS Setup menu after you complete the setup.Press
Page Up/Page Downor+/-keys to modify the BIOS parameters for the active option.
Enter BIOS
Power on the computer and press the Del key immediately to enter Setup. If the message disappears before you respond but you still wish to enter Setup, restart the system by turning it OFF then ON. You may also restart the system by simultaneously pressing Ctrl, Alt, and Delete keys.
BIOS menu and function keys

In the above BIOS Setup main menu, you can see several options. These options will be explained step by step. First, let’s look at a brief description of the function keys you may use here:
Press
←→(left, right) to select the screen.Press
↑↓(up, down) to choose the option you want to confirm or modify.Press
Enterto select.Press
+or–to modify the BIOS parameters for the active option.F1: General help.F2: Previous value.F3: Optimized defaults.F4: Save & Reset.Press
Escto quit the BIOS Setup.
There are six menu bars on top of the BIOS screen:
Main: To change system basic configuration
Advanced: To change system advanced configuration
Security: BIOS Password settings
Power: ACPI and wake device settings
Boot: To change system boot configuration
Exit: Save settings, loading, and exit options
The selected menu bar is highlighted.
BIOS Help
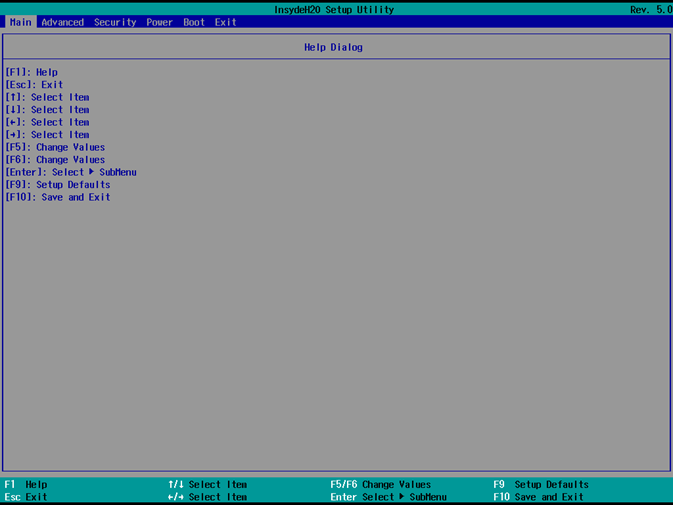
Status Page Setup Menu/Option Page Setup Menu
Press F1 to open a help window that describes the appropriate keys to use and the possible selections for the highlighted item. To exit the Help Window, press Esc.
Main Menu
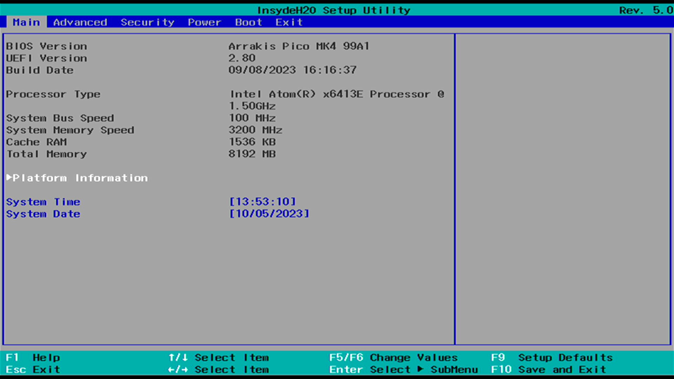
The Main menu screen includes some basic system information. Highlight the item and then use the + or - keys and numerical keyboard keys to select the value you want in each item.
System Date: Set the Date. Use
Tabto switch between date elements.System Time: Set the Time. Use
Tabto switch between time elements.
Advanced

ACPS Settings
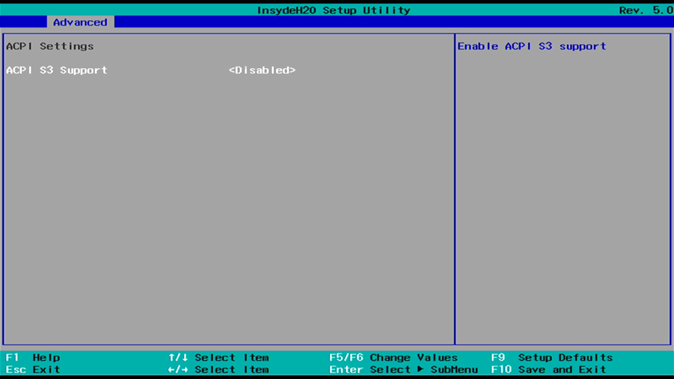
Toggle to enable/disable ACPI S3 support.
CPU Power Limit Configuration
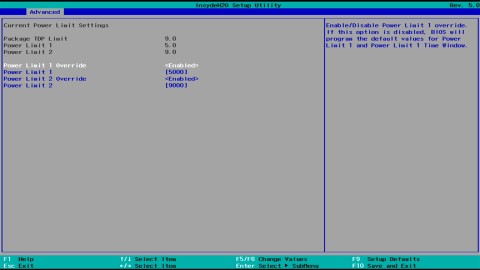
By default, both power limit overrides are enabled. Recommended values are:
Power Limit 1: 5000
Power Limit 2: 9000
Increasing these values will result in higher power consumption, which will raise the case temperature and reduce the operating temperature range. Lowering these values will reduce device performance and may lead to undesired behavior.
PCH-IO Configuration
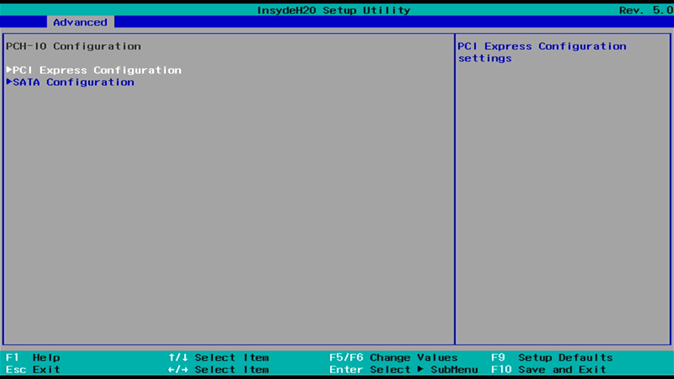
PCI-Express Configuration
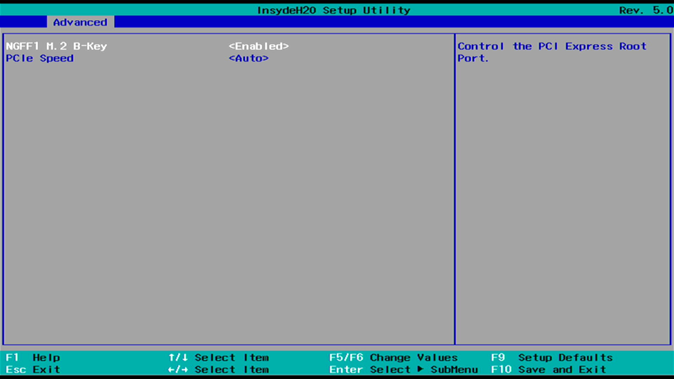
There is usually no need for users to make any changes here. The default settings are:
MGFF1 M.2 B-Key: Enabled
PCIe Speed: Auto
SATA Configuration
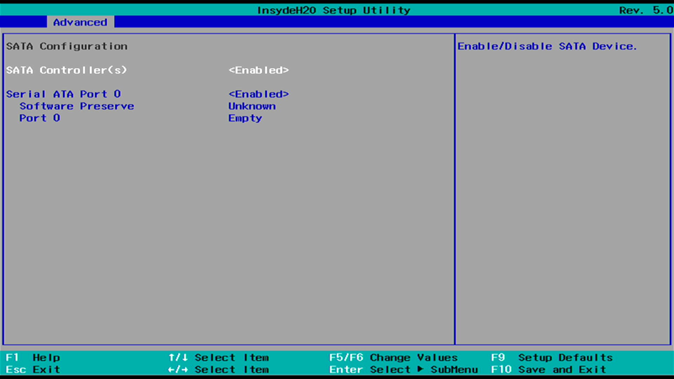
There is usually no need for users to make any changes here. The default settings are:
SATA Controller(s): Enabled
Serial ATA Port 0: Enabled
Port 0 will show the type and capacity of any installed SATA drives.
Please note that the Arrakis Pico Mk4 uses NVMe storage by default, so this field will often appear empty.
Console Redirect
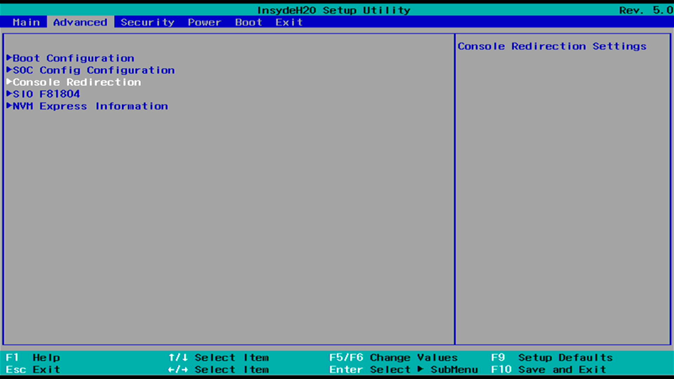
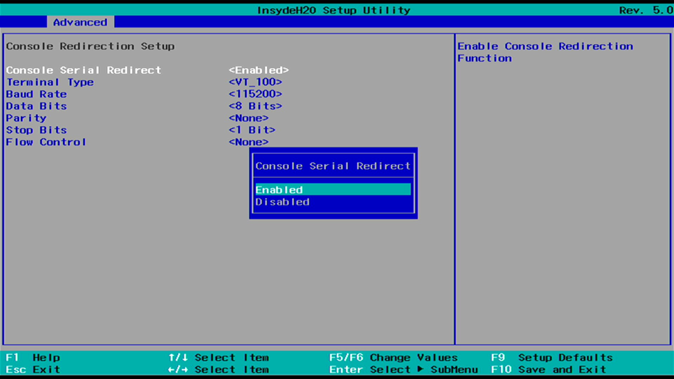
Toggle Console Serial Redirect to enable/disable the function.
Default: Enabled
You can configure the terminal settings in this dialogue.
UART Port 1 Configuration
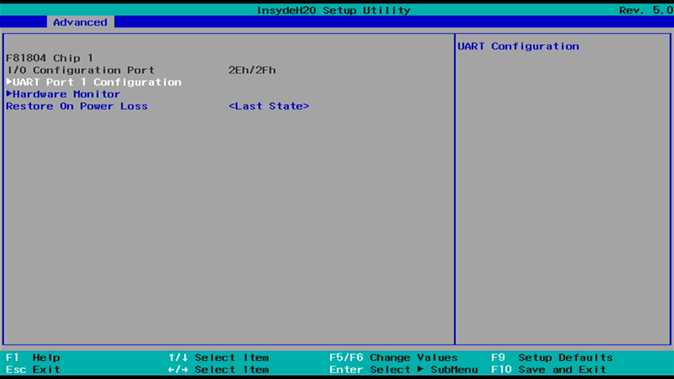
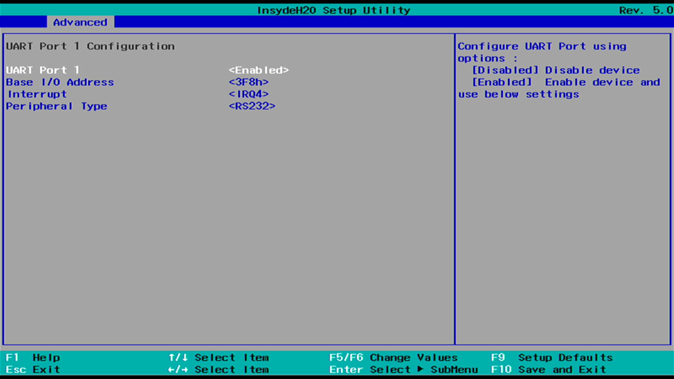
Toggle to enable/disable the serial interface.
Be advised that in RS232 mode, only RX/TX lines are supported.
Restore on Power Loss
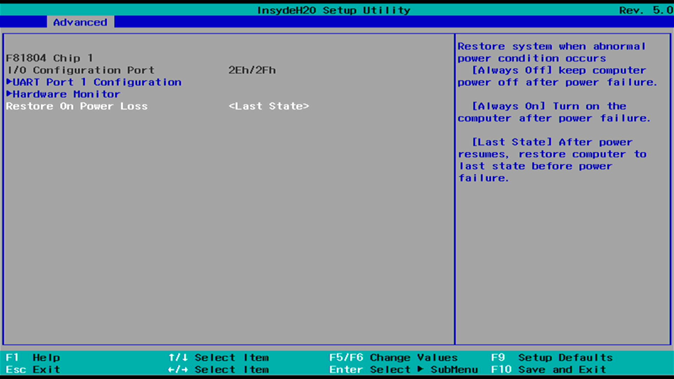
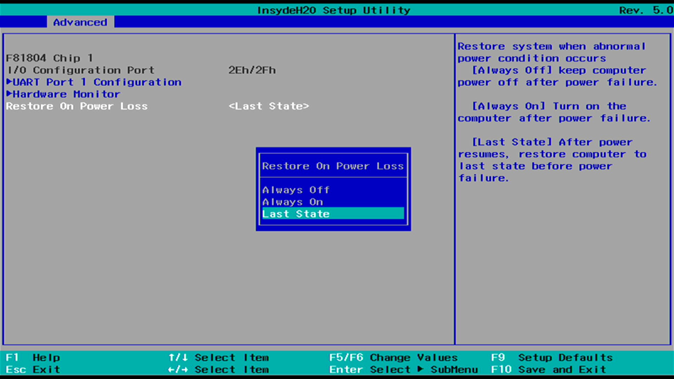
Toggle to configure the desired behavior after power loss. The available options are:
Last State (default): After power resumes, the Arrakis Pico Mk4 is restored to the state it was in before the power loss.
Always On: The Arrakis Pico Mk4 powers on automatically when power is applied.
Always Off: The Arrakis Pico Mk4 remains off after power is restored.
Security
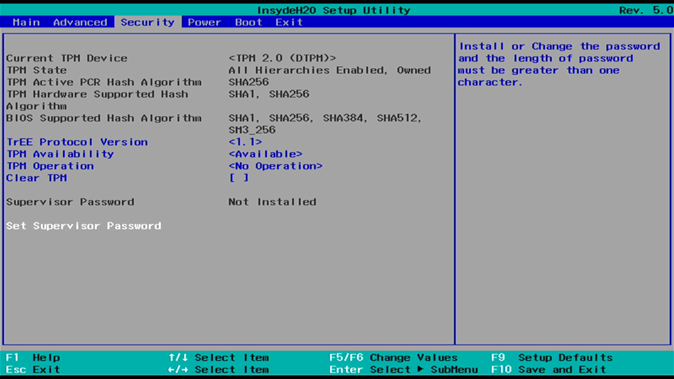
Configure the TPM
Clear TPM
Supervisor Password
To set up a Supervisor password:
Select Supervisor Password. A “Create New Password” dialog will pop up.
Enter your desired password (must be between 3 and 10 characters).
Press
Enterto submit.
Security Advisory
To enhance device security, we recommend the following steps in the BIOS:
Create an Admin Password in the BIOS -> Security section.
Deactivate all unnecessary boot media in the BIOS -> Boot section.
Power
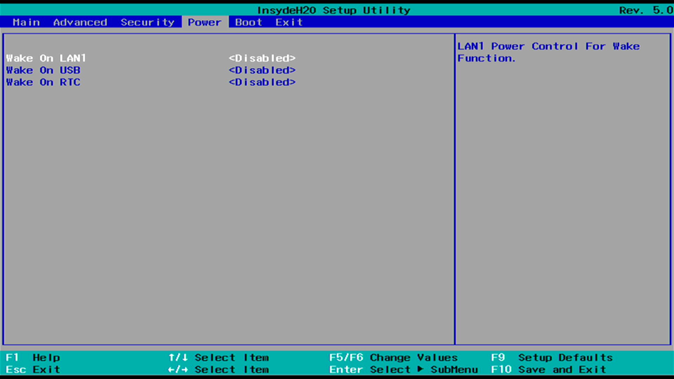
Toggle to enable desired Wake-up Events.
Boot
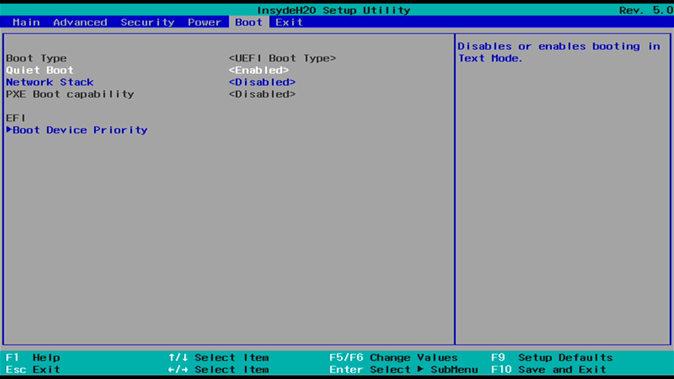
Boot Type
The Arrakis Pico Mk4 is a UEFI boot-only system.
Quiet Boot
Options:
Enabled (default)
Disabled
Network Stack
Enable this option if you need PXE functionality.
Default: Disabled
PXE Boot Capability
This item determines the protocol used during PXE boot:
Disabled (default)
UEFI: IPv4
UEFI: IPv6
EFI
Determine which EFI storage device the Arrakis will boot from. This item will only appear if EFI is present on the storage media.
Exit
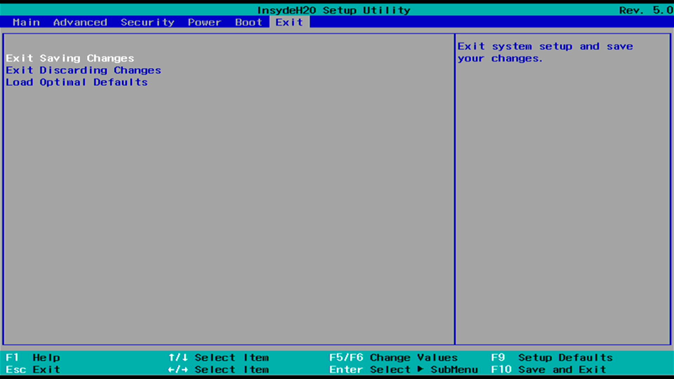
Exit Saving Changes
This option allows the user to reset the system after saving any changes made.
Exit Discarding Changes
This option allows the user to restart the system without saving any changes.
Load Optimal Defaults
Use this option to restore the optimal default settings for all setup options.